What Wire Mesh Actually Does in a Concrete Slab
Concrete is strong in compression but weak in tension, and it shrinks and moves as it cures and as temperatures change. Reinforcement mesh is what holds the slab together when those tensile and cracking forces appear. When you place wire mesh in concrete at the correct height, it controls shrinkage and thermal cracking, keeps any cracks that do form tight and hairline rather than wide and structural, and helps the slab share loads across its full area instead of failing at a single point. This is true whether you pour a driveway, a warehouse floor, a road base, or a precast panel. A welded mesh slab behaves as one integrated element rather than a brittle plate.
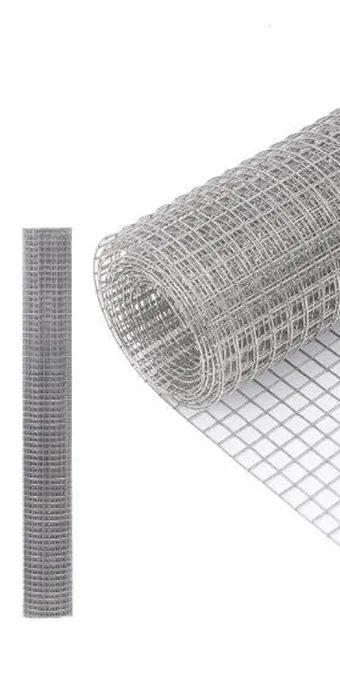
Choosing the Right Mesh Type and Specification
Picking the correct product before you pour saves rework later. The main variables are wire diameter, mesh opening (aperture), and coating. Match them to the load and exposure your slab will see. • Wire diameter: heavier wire carries more load. Light slabs and paths may use thinner wire, while industrial floors, roads, and structural slabs need larger diameters as specified by the designer. • Mesh opening: a smaller aperture gives more steel per square meter and finer crack control; larger openings suit lighter-duty slabs and are easier to handle. • Coating: black (uncoated) wire is economical and fine where it stays fully embedded in dry, protected concrete.
Step-by-Step: How to Place the Mesh Correctly
Correct placement is mostly about getting the mesh to the right height and keeping it there during the pour. Work through these steps: 1. Prepare and compact the subgrade or sub-base, then place any required vapor barrier so the slab base is firm and even. 2. Set the mesh on cover blocks (chairs, spacers, or bar supports) so it is held off the ground at the design height. A typical concrete cover is often in the range of 40-50mm from the bottom or as your applicable codes require; never rely on lifting the mesh by hand during the pour. 3. Lay panels with the correct overlap. A common practice is to lap by at least one full mesh square, or as specified, so loads transfer across the joint. Insufficient lap is one of the most frequent and most damaging errors. 4.
Common Mistakes That Ruin the Reinforcement
Most mesh failures are placement failures, not material failures. Watch for these: • Mesh lying on the bottom: wire mesh in concrete that sits on the subgrade does almost nothing for top-zone cracking and is exposed to ground moisture. Always use spacers. • Walking the mesh down: crews stepping on supported mesh during the pour push it out of position. Use access boards and reposition immediately if it sinks. • Insufficient lap: laps that are too short create weak lines where the welded mesh slab can crack right through. Respect the specified overlap. • Corrosion from too little cover: if mesh ends up too close to the surface or a slab edge, moisture and salts reach the steel and it rusts, spalling the concrete. Maintain cover and choose galvanized mesh for exposed work. • Voids under the mesh: poor consolidation leaves the steel partly unbonded.
Inspection, Acceptance, and Field Tips
A quick check before the concrete truck arrives is cheaper than fixing a cracked slab later. Before pouring, confirm: • The reinforcement mesh sits at the correct height on enough cover blocks that it will not sag between supports. • Laps meet the specified overlap and are tied, with no gaps at panel edges. • Cover to all edges, joints, and the surface meets the design (a typical 40-50mm range, per applicable codes), and exposed or aggressive environments use galvanized mesh. • The mesh is clean, continuous, and neatly cut around any openings. Field tips that save trouble: • Order panels sized to reduce cutting and awkward laps where you can. • Have spare tie wire, cutters, and extra spacers on site; running short mid-pour leads to compromises. • Pour in a planned sequence so crews are not walking across freshly placed mesh.